Welcome to the Z-Line Designs TV stand assembly guide! This comprehensive manual covers models like ZL581-36SU and Merako ZL7227-58M29U, ensuring smooth installation. Follow these step-by-step instructions carefully to build a sturdy, modern TV stand for your home.
Identifying Your Z-Line Designs TV Stand Model
Locate the model number on the product label or manual, such as ZL581-36SU or Merako ZL7227-58M29U, to ensure you have the correct assembly instructions for your stand.
2.1. Locating the Model Number
To identify your Z-Line Designs TV stand model, locate the model number on the product label, packaging, or instruction manual. This number, such as ZL581-36SU or Merako ZL7227-58M29U, is essential for matching with the correct assembly guide. Check the bottom, back, or sides of the stand, as labels are often placed there. If the model number is not visible, refer to the packaging or the manual provided with your purchase. Once found, verify the number against the manual to ensure you have the right instructions for your specific model. This step is crucial for a smooth assembly process and to avoid confusion with similar models.
2.2. Matching the Model with the Correct Manual
Once you’ve identified your Z-Line Designs TV stand model number, such as ZL581-36SU or Merako ZL7227-58M29U, visit the manufacturer’s website or refer to the provided documentation to download the corresponding manual. Ensure the manual matches your model number exactly, as instructions vary between products. For example, the ZL581-36SU manual includes specific assembly steps for its unique design, while the Merako ZL7227-58M29U manual covers its flat-panel mount system. Double-check the manual’s cover page or introduction to confirm compatibility with your model. This step ensures you have accurate guidance for your TV stand’s assembly, preventing potential errors or missing parts.

Preparing for Assembly
Begin by gathering all necessary tools and hardware listed in the manual. Lay out all parts on a non-abrasive surface to prevent scratches and ensure organization.
3.1. Gathering Tools and Hardware
To ensure a smooth assembly process, gather all necessary tools and hardware before starting. Essential tools include an Allen wrench, screwdriver, and pliers. Check the manual for specific requirements, as some models may need additional tools. Organize the hardware, such as bolts, nuts, and screws, by type and size to avoid confusion. Cross-reference the parts list in the manual to confirm all components are accounted for. Missing or incorrect hardware can delay assembly, so double-check your inventory. Lay out tools and hardware on a non-abrasive surface to keep them within easy reach. Proper preparation now will save time and reduce frustration during assembly.
3.2. Laying Out Parts on a Non-Abrasive Surface
Begin by unpacking and carefully laying out all parts on a non-abrasive surface, such as a soft cloth or cardboard, to prevent scratching. Arrange components like shelves, frames, and supports in a logical order based on the manual. This step ensures easy access and helps you visualize the assembly process. Use the parts list in the manual to identify and count each item, verifying that everything is included. Check for any damage or defects and report issues immediately. Once all parts are organized, you’ll be ready to proceed with assembling the base and frame, ensuring a seamless start to your project.
Step-by-Step Assembly Instructions
Follow the detailed guide to build your Z-Line Designs TV stand, starting with the base and frame, then attaching shelves, and finally mounting your TV securely.
4.1. Assembling the Base and Frame
Begin by carefully unboxing and laying out all components on a non-abrasive surface. Identify the base, frame sections, and corresponding hardware. Use the Allen wrench to secure the legs to the base plate, ensuring tightness. Next, align the frame pieces, matching pre-drilled holes for accurate assembly. Attach the vertical supports to the base using the provided bolts. Double-check alignment to maintain stability. Once the frame is fully assembled, tighten all connections firmly; Ensure the structure is level and sturdy before proceeding to the next steps. Refer to the manual for specific bolt torque recommendations to avoid over-tightening. This forms the foundation for your TV stand, so precision is key.
4.2. Attaching Shelves and Storage Components
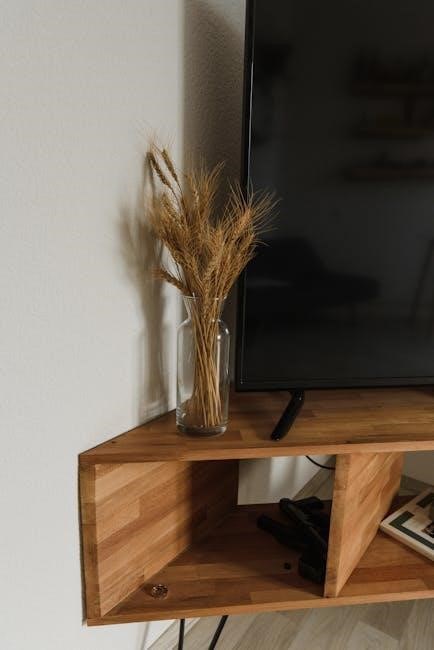
Once the base and frame are secure, begin attaching the shelves and storage components. Align each shelf with the pre-drilled holes on the frame, ensuring proper fitment. Use the cam locks or bolts provided to fasten the shelves in place, tightening firmly but avoiding overtightening. For adjustable shelves, refer to the manual for specific height settings. Install any additional storage compartments, such as cabinets or drawers, by following the alignment marks and securing them with the included hardware. Double-check that all shelves are level and stable before placing any weight on them. Ensure all compartments are properly aligned and functioning smoothly. This step completes the structural assembly, readying the stand for your TV and accessories.
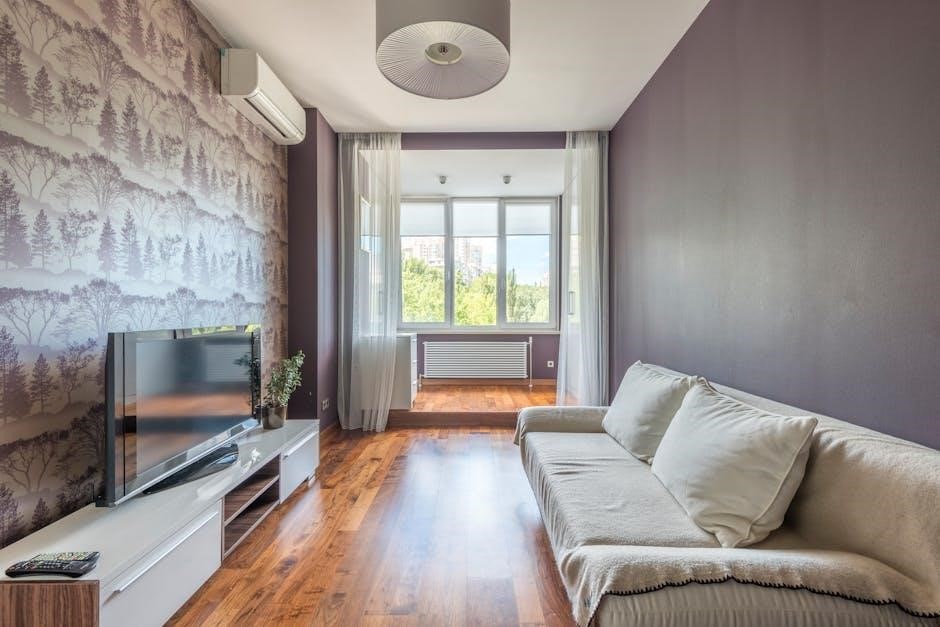
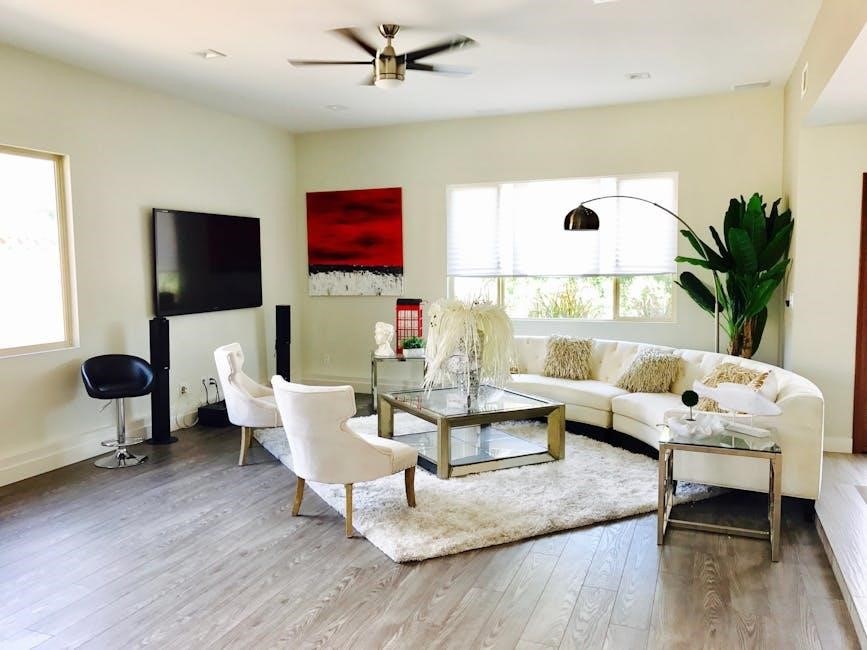
4.3. Mounting the TV on the Stand
Mounting your TV on the Z-Line Designs stand requires precision to ensure safety and stability. Begin by aligning the TV mount brackets with the stand’s VESA-compatible mounting points. Use a spirit level to ensure the TV is straight. Secure the TV using the provided screws, tightening firmly but avoiding overtightening. Double-check the TV’s position and adjust if necessary. Once mounted, test the TV’s stability by gently rocking it. Ensure all cables are neatly organized and secured to avoid interference. Finally, tighten all screws to prevent any movement. Refer to your specific model’s manual for VESA pattern details and weight capacity. Proper mounting ensures a safe and enjoyable viewing experience.

4.4. Final Adjustments and Tightening
Once the TV is mounted, perform a thorough inspection to ensure all components are secure. Check the base, frame, shelves, and TV mount for proper alignment. Use adjustment screws to fine-tune the TV’s leveling, ensuring it is perfectly balanced. Tighten all bolts and screws firmly, but avoid overtightening, which could damage the stand or TV. Double-check the stability of the unit by gently rocking it from side to side. Finally, ensure all cables are neatly secured and organized to prevent any interference or tripping hazards. Once satisfied, your Z-Line Designs TV stand is ready for use, providing a sturdy and stylish foundation for your entertainment system.
Safety Precautions and Leveling the TV
Ensure your Z-Line Designs TV stand is stable and level. Use adjustment screws to level the TV and tighten all bolts securely for maximum stability and safety.
5.1. Using Adjustment Screws for Leveling
To ensure your Z-Line Designs TV stand is perfectly level, locate the adjustment screws at the base of the stand. Turn these screws clockwise or counterclockwise to raise or lower the respective corners of the stand. Use a spirit level to check the balance of the surface. Once the stand is level, tighten all screws firmly to secure the position. This step is critical for maintaining stability and preventing the TV from tilting. For optimal results, place the stand on a firm, even surface before making adjustments. Proper leveling ensures safety and prevents potential damage to your TV or the stand.
5.2. Ensuring Stability and Balance
After leveling your Z-Line Designs TV stand, ensure all components are securely attached. Check that shelves and storage compartments are evenly distributed to maintain balance. Place the TV in the center of the stand, avoiding overhangs that could destabilize the unit. Regularly inspect the stand for any loose screws or wobbly parts, tightening them as needed. For added stability, position the stand on a sturdy, even floor surface, away from uneven or soft flooring. Proper weight distribution and regular maintenance will ensure your TV stand remains stable and secure, providing years of reliable service and safety for your home entertainment system.
Troubleshooting Common Assembly Issues
If you encounter issues during assembly of your Z-Line Designs TV stand, start by reviewing the instruction manual to ensure all parts are correctly identified and matched. Misaligned holes or loose connections can often be resolved by rechecking hardware placement. If a part doesn’t fit, verify it’s the correct piece for that step. Tightening all screws and bolts firmly can address wobbling or instability. For missing or damaged components, contact customer support for replacements. Double-checking each step methodically will help resolve most common assembly problems, ensuring your TV stand is stable and functions as intended for years to come.

Product-Specific Instructions
Find detailed guides for models like ZL581-36SU and Merako ZL7227-58M29U, ensuring proper assembly tailored to each TV stand’s unique design and features for optimal setup.
7.1. Instructions for the ZL581-36SU Model
The ZL581-36SU model is a sleek, low-profile TV stand designed for flat-panel TVs up to 65 inches. Begin by unboxing and laying out all parts on a non-abrasive surface. Refer to the quick start manual for specific hardware and tools needed. Assemble the base and frame first, ensuring all screws are tightened securely. Attach the shelves and storage components next, aligning them properly for stability. Mount your TV carefully, following the VESA mount pattern instructions. Use adjustment screws to level the TV for a balanced display. Double-check all connections and ensure the unit is stable before use. This model’s compact design makes it ideal for smaller spaces while maintaining a modern aesthetic.
7.2. Instructions for the Merako ZL7227-58M29U Model
The Merako ZL7227-58M29U is a versatile 3-in-1 Flat Panel Television Mount System, offering wall mounting, shelf placement, and mobile cart options. Begin by unpacking and organizing all components on a non-abrasive surface. Follow the manual to identify the necessary tools and hardware. Assemble the base and frame, ensuring all connections are secure. Attach the shelves and storage units, aligning them with the frame for optimal stability. Mount your TV according to the VESA pattern, using the provided brackets. Adjust the system for your preferred setup, whether wall-mounted or on the cart. Tighten all screws firmly and ensure the unit is level. This model’s flexibility makes it ideal for various spaces and viewing preferences, providing a sturdy and stylish solution for your TV display needs.
Completing the assembly of your Z-Line Designs TV stand is a rewarding process that enhances your home entertainment setup. Always follow the instructions carefully to ensure stability and safety. Double-check all connections and tighten any loose screws. For optimal performance, keep the stand clean and ensure proper ventilation for your TV. If you encounter any issues, refer back to the manual or contact customer support. Regularly inspect the stand for wear and tear, and adjust leveling screws as needed. By following these guidelines and maintaining your TV stand, you’ll enjoy a durable and stylish display for years to come.
Leave a Reply
You must be logged in to post a comment.